
 User Concern
“My iPhone is stuck in headphone mode. I hadn't used the headphones before this happened. I've tried cleanning out the jack with a match (it looks very clean) and plugging the headphones in and out several times whils watching a video. Neither worked.”
Many iPhone users have encountered this situation: They're sure that headphones are not plugged into the iPhone, but an onscreen message shows that the headphone volume and the iPhone are not making any sound.
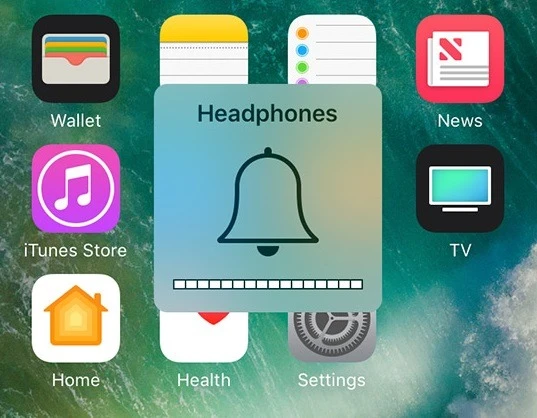
What's happening? Don't be afraid; it is one of the common issues in iPhone and can be easily fixed.
In this article, we'll explain why your iPhone is stuck in headphone mode and look at some solutions that can help you get your iPhone out of headphone mode.
Before fixing the iPhone stuck in headphone mode issue, it is important to know why it occurs. Well, it can be caused by a number of things, either hardware problems or software issues. The following are just some potential causes:
Before racking your heads to learn deep, knowledgeable methods, let's first check some easy solutions.
Your iPhone may be damaged by water if cleaning the headphone jack doesn’t help. The headphone jack will show whether your iPhone is water damaged for old model. For new models, the SIM card slot is the indicator.
If you see orange dot on headphone jack or SIM card, you need to save the device from water damage.
The simplest thing you can try is to plug in the headphones and unplug them. Something may go wrong with the headphone jack so that it can't be recognized by your iPhone when the headphones have already been unplugged. Then, making this pair of headphones plugged and unplugged could possibly solve this issue.
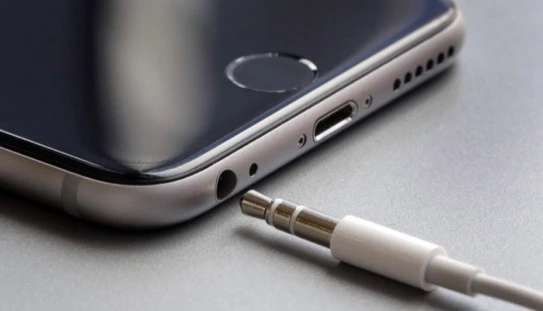
As previously mentioned, the headphone jack issue could result in the iPhone being stuck in the headphone mode problem. Too much dust on the headphone jack could affect the recognition of the headphones.
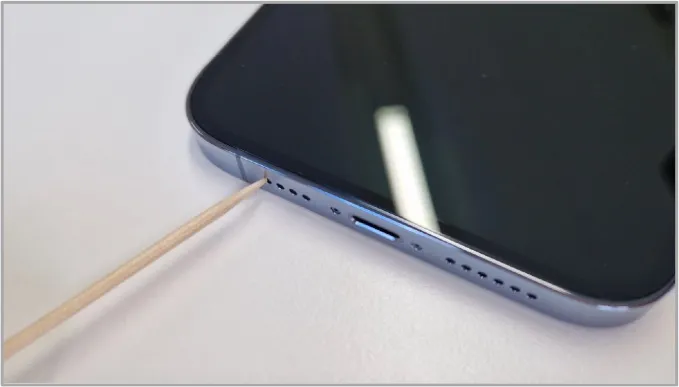
Thus, you have to take a clean toothpick or cloth to clean the dust or dirty to remove the dust from the headphone jack. Ensure that the headphone jack should be dry when you are cleaning it.
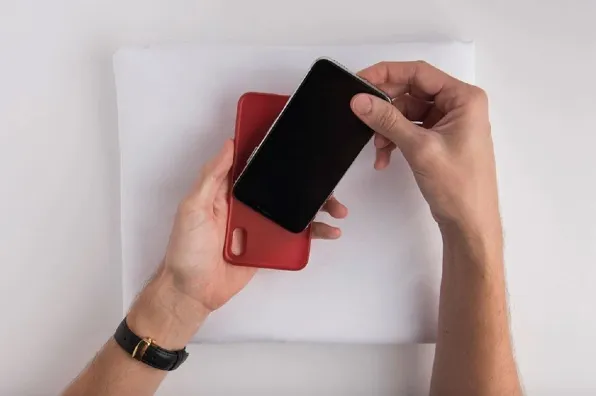
Many a time, the iPhone stuck in the headphone mode could be caused by the phone case, especially when the case doesn't include a precise cut for headphone jack.
As a result, we highly recommend you remove the case or any cover from your iPhone and then try again to check whether the iPhone is still in headphone mode.
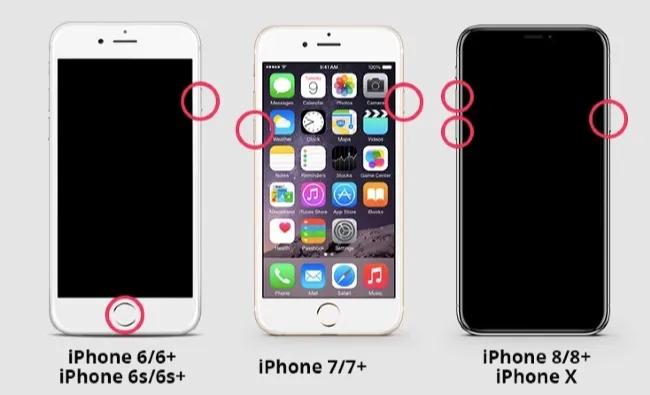
If the tips above don't work, the next solution is to restart your iPhone. A simple reboot will let the software get a fresh start and clear some temporary technical glitches that cause the iPhone to get stuck in headphone mode.
Sometimes, your iPhone may still think that the device is connected with an external audio source, such as bluetooth headphones.
Putting your iPhone into Airplane mode can quickly turn off cellular,WiFi and Bluetooth connections. Here's what you need to do:
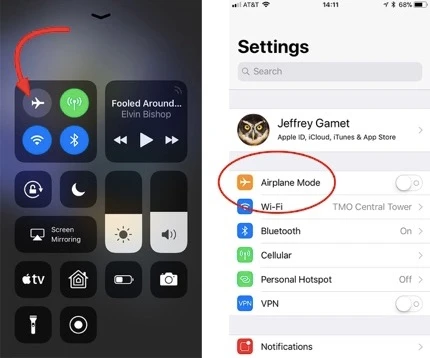
You can also directly go to Settings on iPhone, then enable and disable the Airplane Mode option.
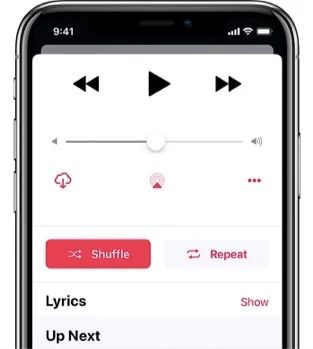
Another way to get your iPhone out of headphone mode is changing its audio output settings. To do it, follow these simple steps:
Play a song is said to be useful to fix the issue of the iPhone being stuck in headphone mode. You can play some with iPhone's inbuilt music apps, such as iTunes, Spotify, Pandora. You can also play songs with other music apps.
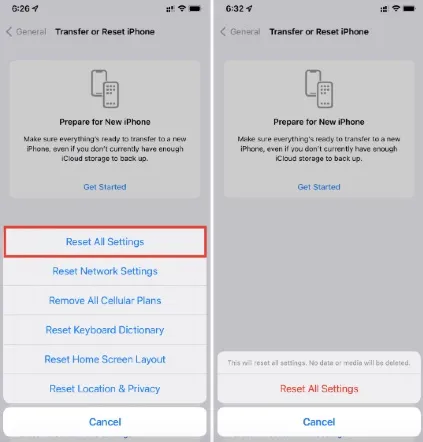
If this issue still exists after trying the solutions above, you can try to reset your iPhone settings. However, all the data on iPhone will be deleted permanently. In this case, a backup iPhone with iTunes or iCloud will be required.
To reset all settings on iPhone, head over to Settings > Reset > Reset all Settings and enter the passcode to verify the reset process. The iPhone should be in normal mode after that.
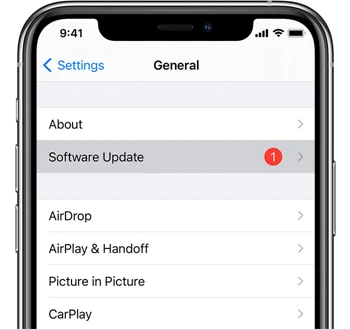
Keeping the iPhone version up to date will also avoid and resolve various iPhone issues that you may encounter, including the iPhone stuck in headphone mode issue. Now follow the steps below to install the newest iOS 17 on your iPhone.
When your iPhone or iPad is stuck in headphone mode or encountering other difficult issues, most solutions you can search online may be restore iPhone system with iTunes or restart iPhone. Unfortunately, a 100% recovery rate cannot be guaranteed, and you will be at risk of losing all the data on your iPhone. Thus FoneGeek iOS System Recovery is here for your assistance. This 3rd-party iOS repair tool can fix all iOS issues without any data loss, such as iPhone running slow after iOS 17 update, iPhone stuck in verifying update, iPhone won't turn on, etc.
Here is the step-by-step guide that you can follow to understand how to fix all iPhone issues in one click.
Step 1. Download and install FoneGeek iOS System Recovery on your computer. Then launch it and hit "Standard Mode" tab on the main screen to initial the repair process.

Step 2. Connect your iPhone to the computer using a USB cable and wait for the program to detect the device. If not, please follow the on-screen instructions to put the device into Recovery or DFU mode.
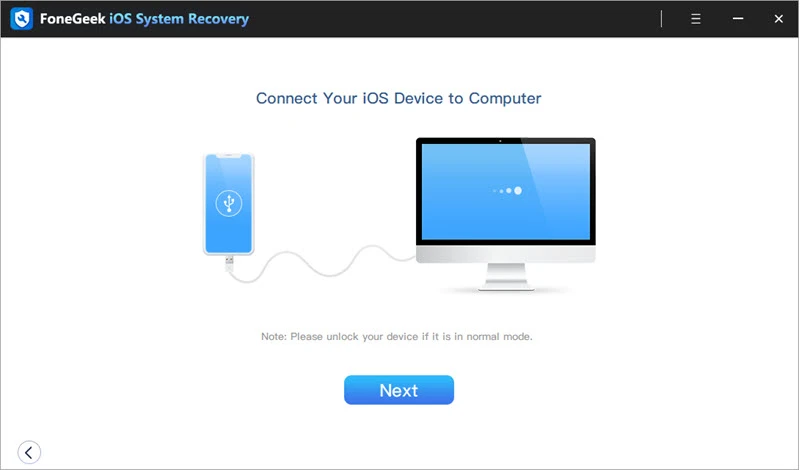
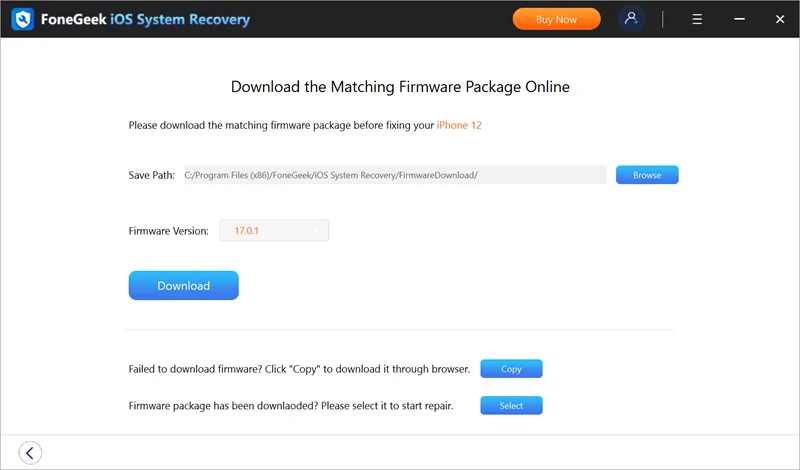
Step 3. Once your iPhone is recognized, check the device model and choose the matching firmware version. Then, click on the "Download" button.
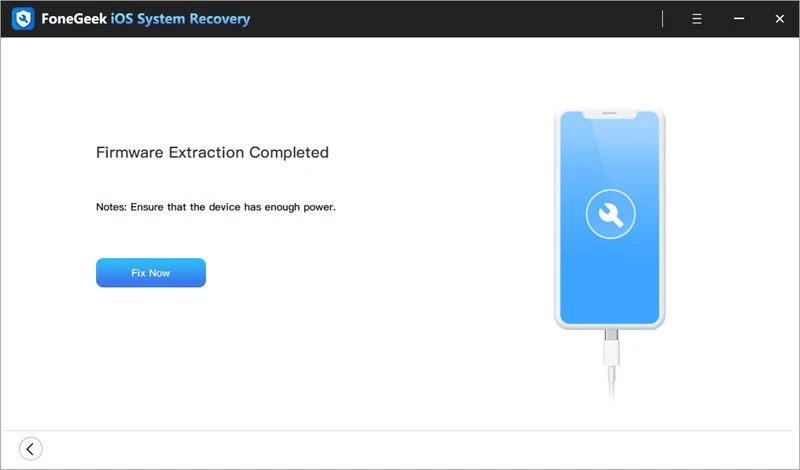
Step 4. When the firmware is downloaded successfully, click "Fix Now" to start the repair process. In general, the repair process will take several minutes. So be patient and let the repair process complete. Then, your iPhone will restart immediately.
You can also get professional tech support from Apple if you doubt that your iPhone is stuck in headphone mode due to a hardware issue.
Take the device to the Apple Store nearby, and the staff will check your iPhone issue and get it fixed. But it may cost a lot to repair if your iPhone is not under warranty.
Joan J. Mims is interested in researching all tips about iPhone, iPad and Android. He loves to share useful ideas with all users.
Your email address will not be published. Required fields are marked *

Copyright © 2025 FoneGeek Software Co., Ltd. All Rights Reserved