
In this era of ultra-technology, many of us rely on a Wi-Fi network to stay connected with the world. As an iPhone user, you may sometime notice the "Weak Security" warning while trying to connect to a Wi-Fi network.
Usually, it occurs when the Wi-Fi connection you are trying to connect is not secure enough. In this guide, we will let you know what does weak Wi-Fi security mean on iPhone and how to fix the problem. Keep reading.
Wi-Fi networks arrive with different security standards to prevent unethical access and secure the user's privacy. The security standards are regularly updated to deal with the evolving threats and keep the network secured.
The Wi-Fi security standards include WEP, WPA/WPA2, and WPA3. The WEP is the oldest standard, and the WPA3 is the latest and most secured one.
Now let's know a bit more about the 4 different types of Wi-Fi encryption standards:
Simply put, your iPhone will show the Weak Security warning when you are trying to connect to a Wi-Fi network that arrives with older Wi-Fi encryption standards like WPA and WPA2 (TKIP). Apple started showing this message from the iOS 14 as a feature to assist you with personal privacy and security.
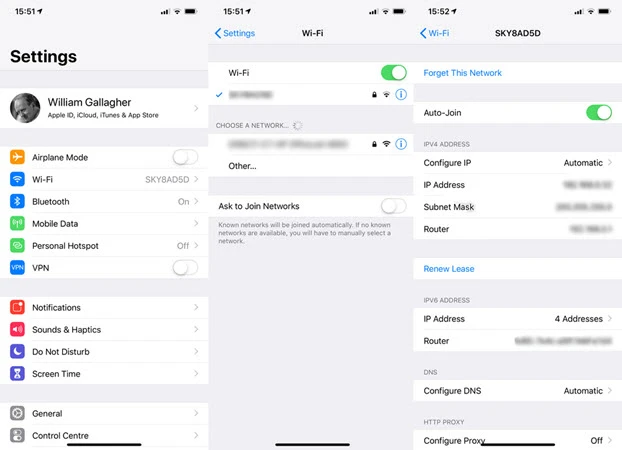
You can check if a Wi-Fi network is weak or not by going to Settings > Wi-Fi. You will see the "Weak Security" notice below the Wi-Fi now.
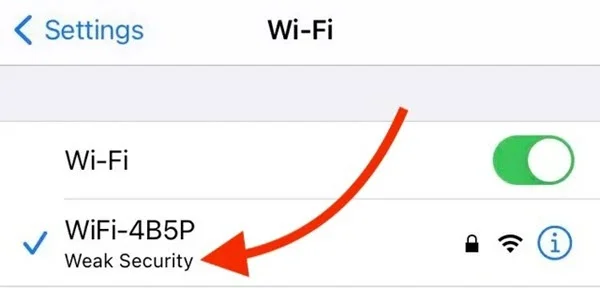
If your iPhone Wi-Fi network says “Weak Security”, here are some fixes you can try to get rid of the warning:
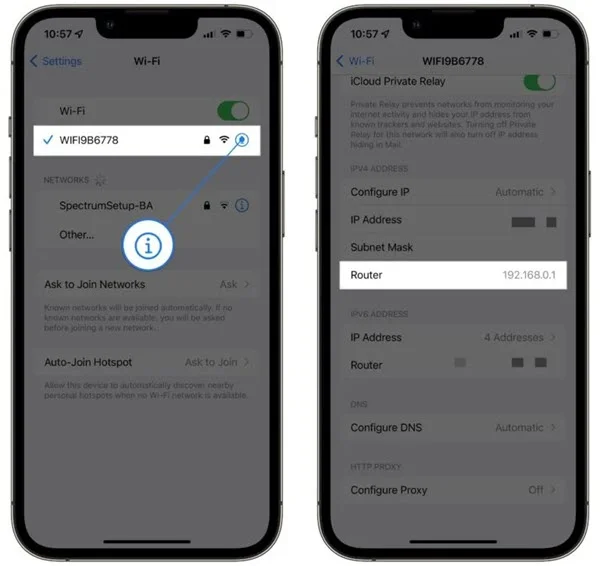
When you notice the Weak Security warning, the first thing you should do is update your router settings.
Step 1: First, enter your router address (that will be like 192.168.1.1 or 192.168.0.1) on a web browser.
Step 2: Then enter the username and password, which is oftentimes “admin” (both the password and username are admin).
Step 3: After logging in, find out the “Security” or “Encryption” option and open it. Under that, change the settings to WPA2 (AES) or WPA3 (AES) and then press “Save” or “Apply”.
Note that the settings might be a bit different based on the router you are using. You can check out the router's user manual to find out the exact way to change the settings.
Disabling and enabling the Private Address can also help you to secure a Wi-Fi network. You can enable the Private Address while using an unknown Wi-Fi network and disable it while using your home Wi-Fi.
Follow the steps below to disable the Private address:
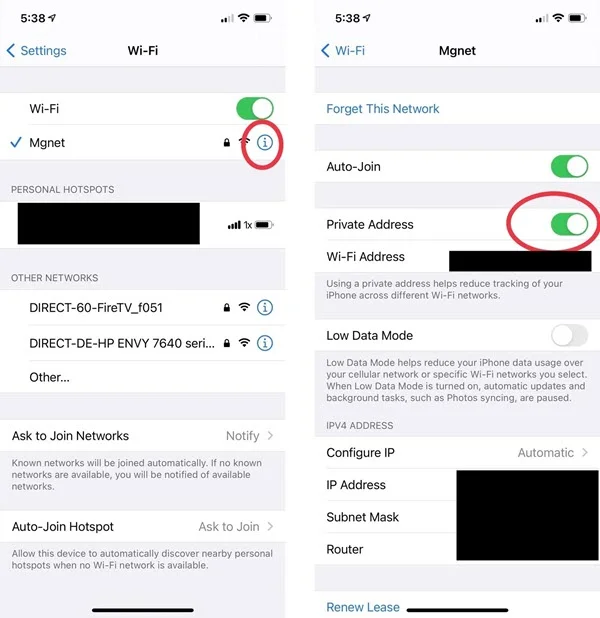
You can enable the Private Address following the same steps and turn on the toggle bar for the Private address.
If you have tried the above solution and the error persist, consider the below solutions:
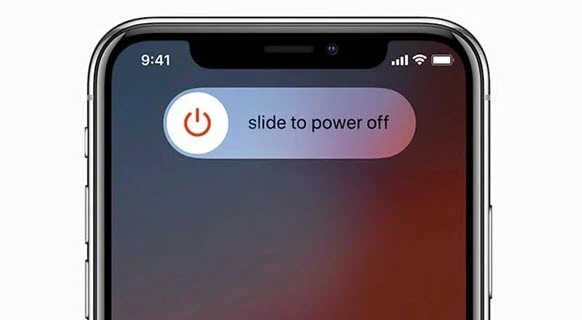
Sometimes the weak Wi-Fi security error may be caused by small software glitches on the iPhone. To get rid of this, a simple restart should help. Here is what you need to do:
Another simple solution that might be helpful to solve the problem is reconnecting Wi-Fi. To do this, open the Settings app and tap on “Wi-Fi”. Then tap the “i” icon next to the Wi-Fi network and tap “Forget This Network”. Reconnect to the Wi-Fi network after a few seconds.
If the “Weak Security” Wi-Fi warning persists or you have other troubles with Wi-Fi, there might be issues with the iOS system on your iPhone. In such case, you can repair this easily by using tools like FoneGeek iOS System Recovery.
This professional iOS repair tool can help you fix all Wi-Fi related issues, including iPhone won’t connect to Wi-Fi, Wi-Fi disconnects when iPhone is locked, iPhone Wi-Fi greyed out, and more.
Also, it enables you to solve more serious iOS problems like iPhone black screen, stuck on Apple logo, iPhone is frozen, etc. Most important of all, it doesn’t remove the data of your iPhone while performing the fixes.
Now download and install FoneGeek iOS System Recovery on your computer, then follow the steps below to resolve all Wi-Fi related issues on your iPhone;
Step 1: Launch this iOS repair tool once the installation is done and choose “Standard Mode” on the home screen.

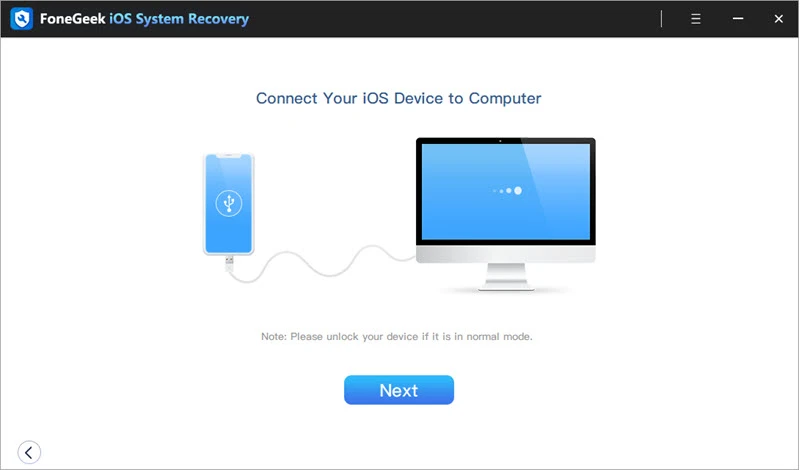
Step 2: Plug your iPhone to the computer using a USB cable. Sometimes the device might not be detected. In this case, make use of the onscreen guide to boot the device into Recovery or DFU mode.
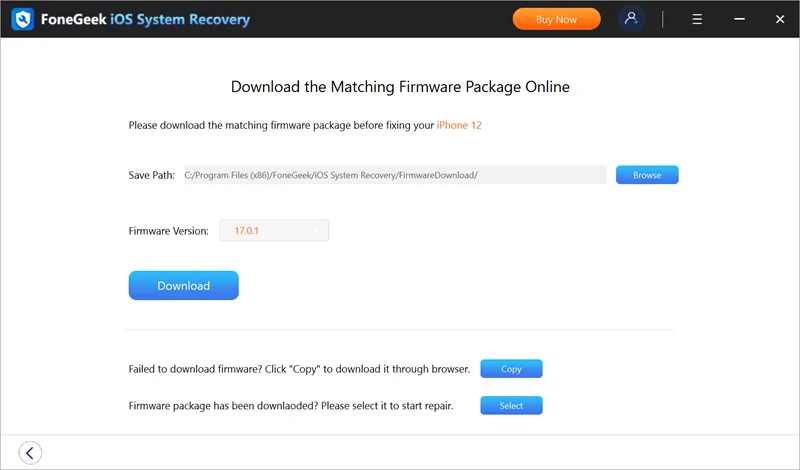
Step 3: The program will display the device info and available firmware version. Choose the matching firmware version and click on “Download”.
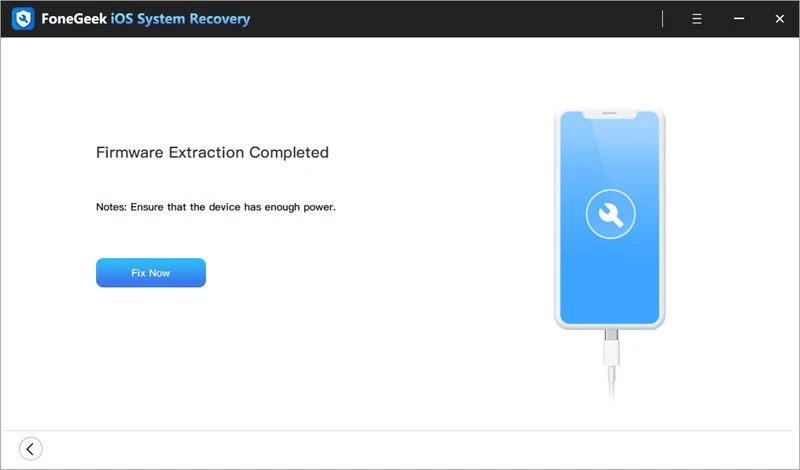
Step 4: After a while, the download will be finished and verified. Just click “Fix Now” to begin the repairing. Once done, your iPhone will reboot and back to its normal state.
The weak security Wi-Fi warning on your iPhone can be annoying, but you can easily fix this. The above solutions should help you to get rid of this annoying message. In addition, you can use FoneGeek iOS System Recovery to solve this and all other Wi-Fi problems on your iPhone. Best of luck!
Joan J. Mims is interested in researching all tips about iPhone, iPad and Android. He loves to share useful ideas with all users.
Your email address will not be published. Required fields are marked *

Copyright © 2025 FoneGeek Software Co., Ltd. All Rights Reserved