
When it comes to video shooting with a smartphone, iPhone is second to none. With its innovative and top-notch camera, it takes stunning and high-quality videos that can surely impress people. However, an issue you might encounter while trying to capture videos on an iPhone is the unavailability of the video option when you start the camera.
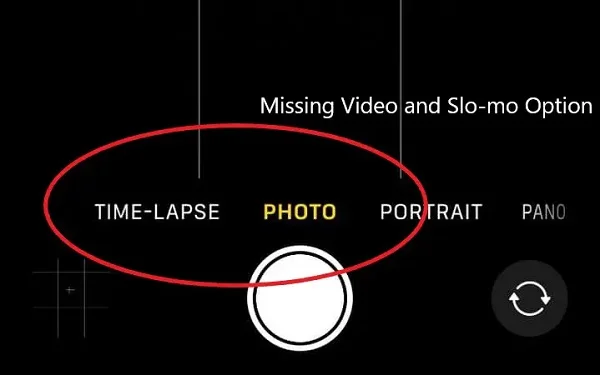
In this article, we will discuss why there is no video option on your iPhone camera and fixes that you can try to get rid of the issue.
This weird issue can occur because of a variety of reasons. Some of the most common causes include the following:
If the video option on your default camera app is not working and you need a quick way to capture a video, consider the option below.
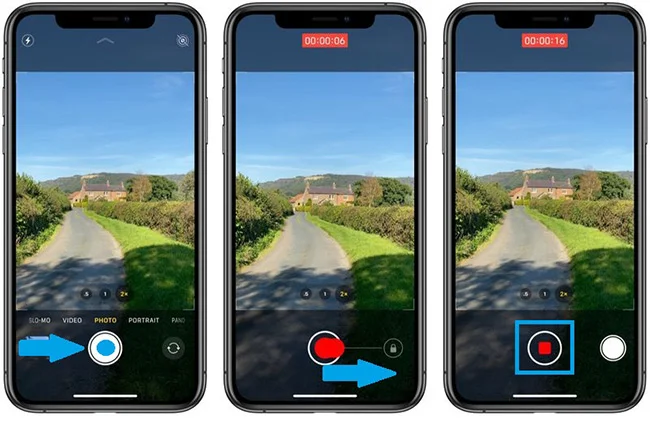
The QuickTake feature lets you utilize the Photo mode of your Camera app to quickly capture a video. If the video option on your iPhone is unavailable, it can be a great way to temporarily capture a video. Here are the steps to use it:
You can always make use of a third-party Camera app when the video option is unavailable. Simply go to the App Store and find a good camera app with positive reviews. Some of the options you can consider include Snapchat, Line Camera, etc.
Here are some of the possible solutions you can try to fix no video option on the iPhone's camera app:
As we mentioned earlier, ongoing video or audio calls can be the culprit behind the unavailability of the video feature. That means if you are on a video/audio call on the Phone app, or WhatsApp, Zoom, Google Meet, Duo, etc., you will need to end the call to get the video option back.
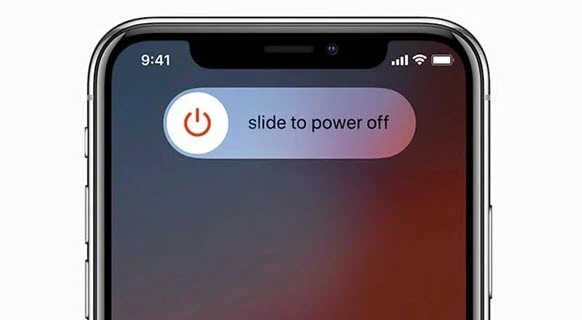
Restarting your device is one of the best ways to eliminate minor glitches or system bugs that can cause issues like the unavailable video option. You can easily restart your iPhone by long-pressing the power switch. Simply drag the slider to switch off. After that, long-press the power key again to switch it on.
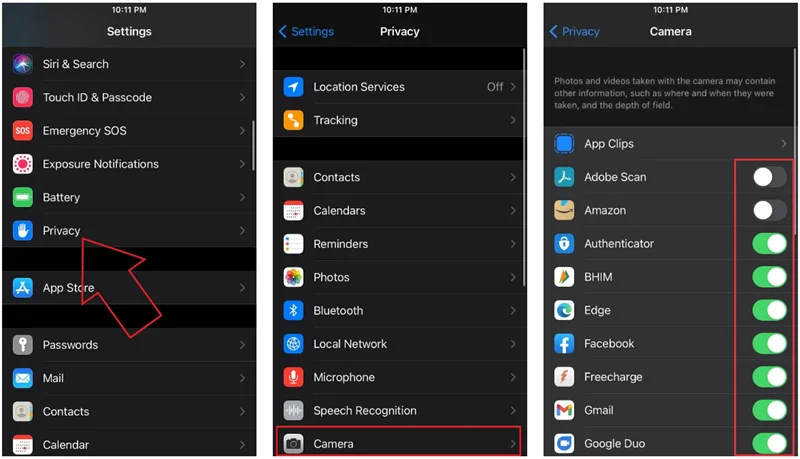
Many applications on your iPhone may be utilizing the camera. This includes video calling apps such as WhatsApp, Google Meet, Facebook Messenger, etc. Check if any of these apps are using the camera and disable it following the below steps:
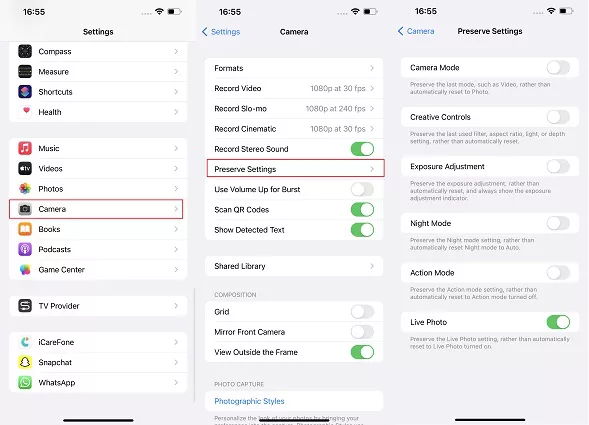
The camera preserves settings enable you to keep the modified camera settings saved. To be more precise, you will require enabling the "Camera Preserve Settings" to keep the modification preserved. Sometimes these modifications also cause issues like the video option being unavailable.
Here are the steps you need to follow to inspect the camera preserves settings: Navigate to Settings and go to Camera > Preserve Settings. Next, click the toggle for "Camera Mode" to turn on/off the settings.
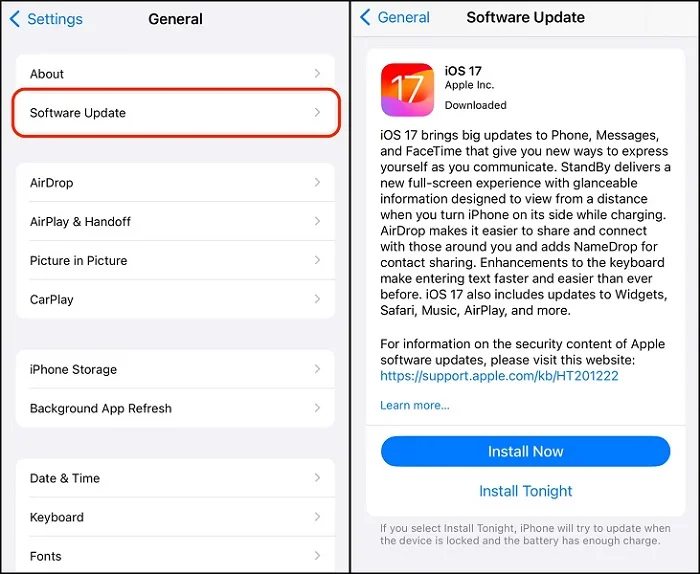
If your iPhone is running on an outdated iOS version, then there are chances that it is causing the video feature unavailability issue. Consider updating the iOS version to the latest release to fix it.
To do so, visit Settings of your iPhone and go to General > Software Update. Then check for the update and then Download and Install it.
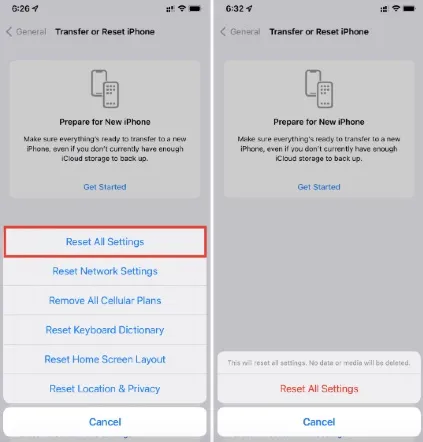
Sometimes a wrong setting can also cause the problem. Since it can be pretty hard to find out which settings are causing the issue, you can consider resetting all the settings on the device.
To do so, visit the Settings app on your device and go to General. After that, find Transfer or Reset iPhone option and then select Reset. From there, click “Reset All Settings”. Once done, check if the video works.
If none of the above resolutions works for you, you can consider utilizing a professional iOS repair tool to fix the problem, such as the FoneGeek iOS System Recovery. It's a well-capable tool designed to fix more than 150 iOS system errors, including the no video option. It's a great way to fix most of the iPhone, iPad or iPod problems without losing data.
Here are some of the top features of the FoneGeek iOS system recovery:
Here are the steps you need to utilize to run the FoneGeek iOS System Recovery to solve issues:
Step 1. Download, install, and run the FoneGeek iOS System Recovery on your PC/Mac. After that, connect your iPhone to your PC through a USB.
Step 2. Now you will find two repair modes in the program interface, which are Standard Mode and Advanced Mode. Choose Standard Mode, as it won't delete any data from your device. If you intend to use the Advanced mode, make sure to back up the device data.

Step 3. On the new page, select the firmware version for your device to start fixing. Press "Download" once after choosing the preferred firmware.
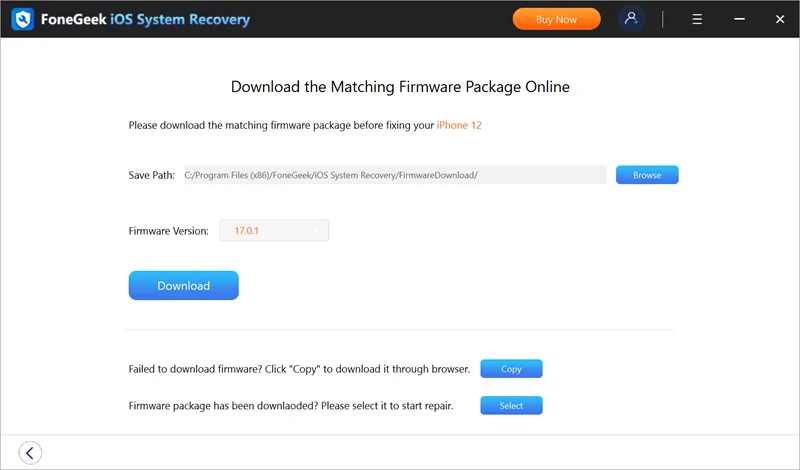
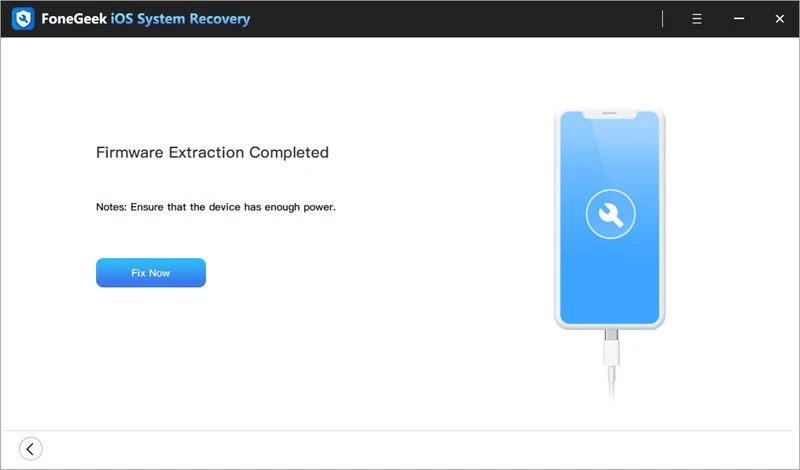
Step 4. Once the firmware download is completed, press "Fix Now" and wait for the procedure to be completed. The problem should be fixed in a few minutes without any data loss.
If you are still unable to get rid of the issue, some hardware issues might be causing it. Consider contacting Apple support as your last resort. If the device is in warranty coverage, you will be able to get the device fixed at no cost.
We hope you will be able to fix the no video option issue on your iPhone with the above solutions. If you are encountering more problems along with it, be sure to utilize the FoneGeek iOS System Recovery to get them fixed altogether without any hassle. Best of luck!
As a professional writer who is interested in technology, Edwin J. Parke has helped thousands of users by offering various tips to solve their problems.
Your email address will not be published. Required fields are marked *

Copyright © 2025 FoneGeek Software Co., Ltd. All Rights Reserved