
Your iPhone screen has gone black but the device is still working. A lot of iPhone users also reported to encounter this frustrating issue. In this article, we will analyze the possible reasons that are causing it and introduce some potential fixes you can try to get rid of. So, without further ado, let's begin!
The “iPhone screen went black but still works” occurrence can be caused by several reasons. Some of the possible reasons are discussed below:
Now you know the possible reasons that can cause the error. Now let’s dig into the solutions.
The iPhone screen can go black because the display connector gets disconnected from the central unit. In this case, it may help to carefully and gently press across the display. This might help to reconnect the connector and get the device back to its normal state.
As we said above, the low battery can also be a reason behind this issue. So, if you are encountering the problem when the battery is low, consider connecting the device to its charger. Fully charge the battery and check if the problem resolves.
If you still encounter the problem after charging the device, consider performing a force restart. Here are the steps to do so:
For iPhone 8 or newer: Quickly press and let go of the Volume Up button. Repeat this for the Volume Down button. After that, press the Side button and only release it when the Apple logo occurs.
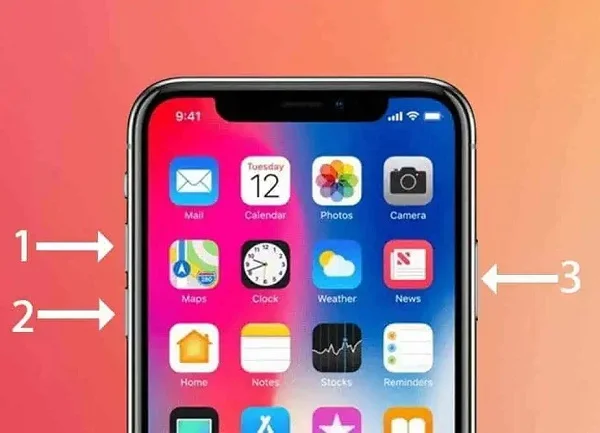
For iPhone 7, 7 Plus: Simply tap and hold the Volume Down switch and the Side or Top button before you see the Apple logo.
If there is an error with the system software causing the error, consider restoring the device with iTunes. Here is the procedure:
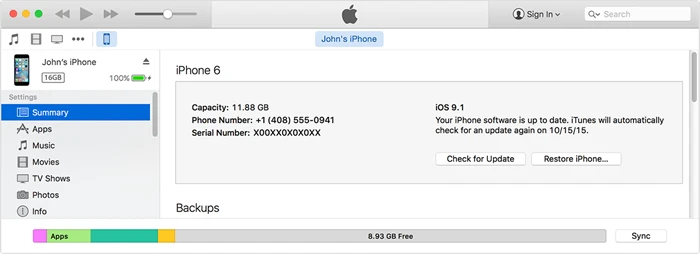
iTunes may not always assure you the best performance. Sometimes you may end up with an error, such as it may fail to recognize your device. In these cases, you can consider employing a third-party program like FoneGeek iOS System Recovery. The program enables you to fix various issues with just a click. It's also straightforward to use and works very efficiently in most cases.
Here is the procedure to utilize the FoneGeek iOS System Recovery to solve the error:
Step 1. Begin installing the FoneGeek iOS System Recovery on your PC. After that, attach the iPhone to the PC and launch the FoneGeek app and select “Standard Mode” from the screen.

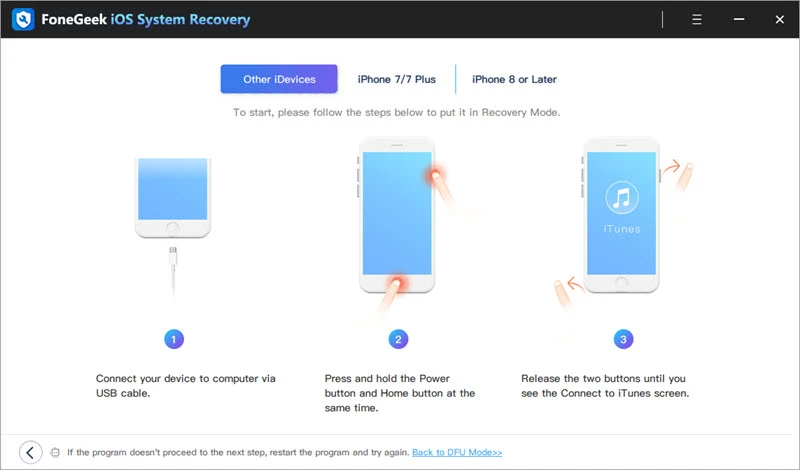
Step 2. Once after doing so, you will be given the option to enter Recovery Mode or DFU mode to begin fixing the device. Use the on-screen guide to put your device into the respective mode.
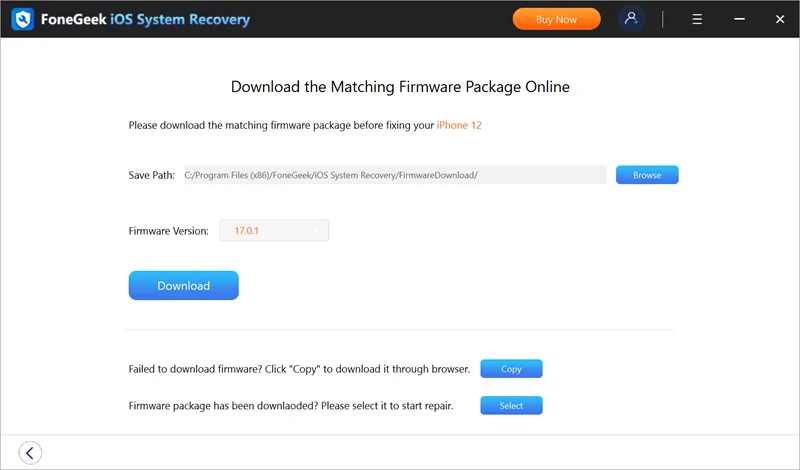
Step 3. After entering the DFU or Recovery mode, the app will decide on the suitable firmware for the device. Start downloading the firmware by pressing "Download".
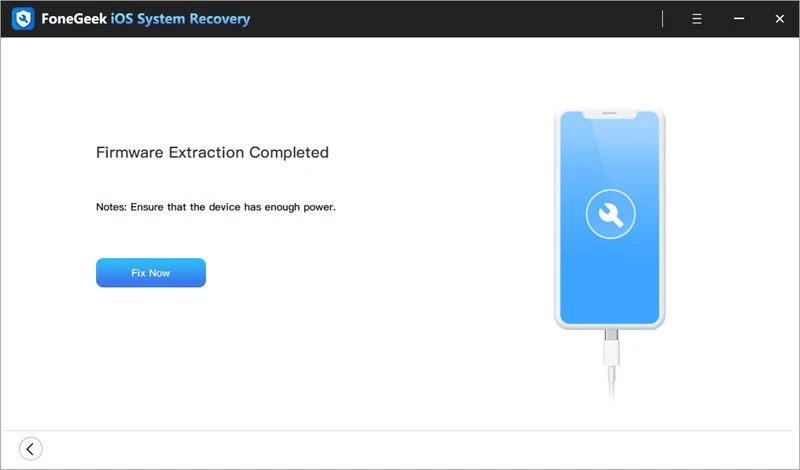
Step 4. Once the installation of the firmware is done, press the "Fix Now" option. After doing so, the device will be fixed and get back to its normal state.
You can also restore the iPhone through iTunes utilizing the DFU mode. It will eradicate all the files from your iPhone. Here are the stages you need to follow:
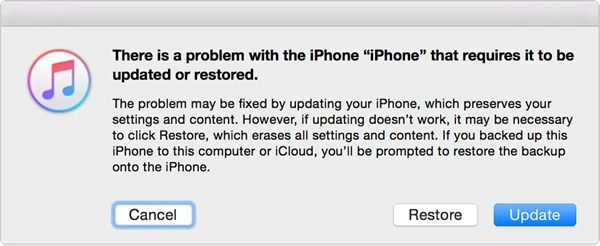
Once after accomplishing the steps, the device should be reset within a while, and you can restore the backup you made earlier.
If none of the above solutions helps you to fix the error, consider contacting Apple Store. Their expert technicians will help you sort out the issue and offer guidance on how to fix it.
We hope the above article helps you understand the reasons and solutions that you should try when your iPhone is showing a black screen while still on. Try the methods and see which one solves the problem for you. Make sure to quickly utilize the FoneGeek iOS System Recovery to fix any system error or bugs on your iPhone.
As a professional writer who is interested in technology, Edwin J. Parke has helped thousands of users by offering various tips to solve their problems.
Your email address will not be published. Required fields are marked *

Copyright © 2025 FoneGeek Software Co., Ltd. All Rights Reserved