
“I recently updated my iPad to iPadOS 17 and now it won't connect to WiFi - but other devices do. I have checked the password, shut down the device, turned WiFi off and on, nothing worked. What else can I do?”
Recently, many users have reported that their iPad won‘t connect to WiFi after upgrading to iPadOS 17. If you're reading this post, then you're probably facing the same error. Don't worry, it is a common problem that can be fixed in a few simple steps and here we will show you how to deal with it.
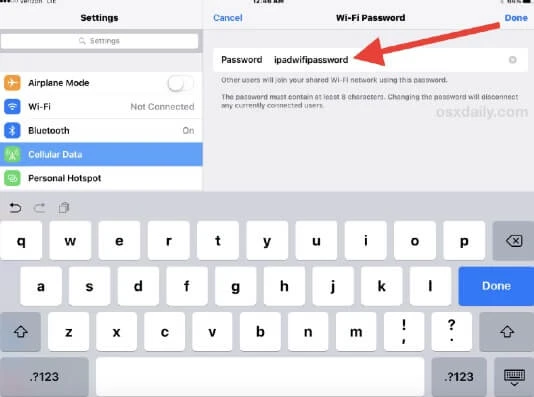
If your iPad won't connect to WiFi, you should check whether the WiFi password you entered is right or wrong. It is very easy to type the incorrect password especially when the password is combined with numbers and letters. So the first thing you need to check is the WiFi password. Also, make sure that the Wi-Fi networking you connected is running.
In most of the cases, a minor software glitch will affect the WiFi connection on your iPad. Turning WiFi off and then back on is probably the most common way to fix iPad won't connect to WiFi issue.
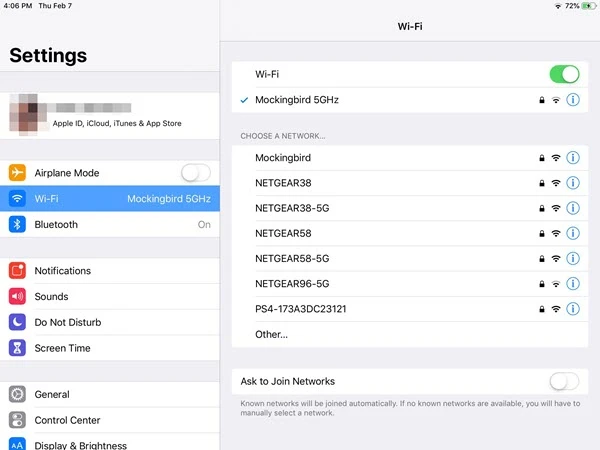
Go to your iPad Settings and tap WiFi, toggle the switch button to turn it off. Wait for a few seconds and toggle the switch again to turn it back on. Also, turn on "Auto-Join" under your Wi-Fi network name.
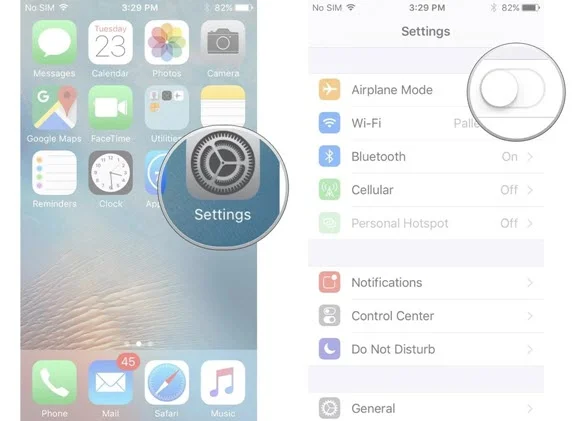
Most minor WiFi glitches can be eliminated by turning the Airplane mode on and off. You can check the steps below to carry out this method:
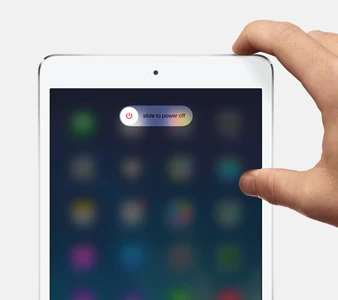
If the previous 3 basic methods didn't work for you, try restarting your iPad. It can help to remove some glitches that prevent your iPad from connecting to WiFi.
If your iPad is not connecting to WiFi, it may be influenced by some external factors such as the router. To confirm whether this issue is caused by the router, follow the steps below:
In addition, try to move your iPad closer to the router. If they are too far away, the WiFi signal may be weak for your iPad to connect to the WiFi.
If WiFi router is not the factor that affects the iPad WiFi connection, you may have to check if the router runs the newest firmware. In fact, router also has its own "system" like mobile devices.
You can access the router's update page, download the update file, then update the router software to the latest version to improve your router's performance.
If the WiFi problem still existed, you may doubt that there are some software bugs affecting the WiFi connection on your iPad. It's time to forget the WiFi network and join it again to refresh the WiFi connection. Here are the steps:
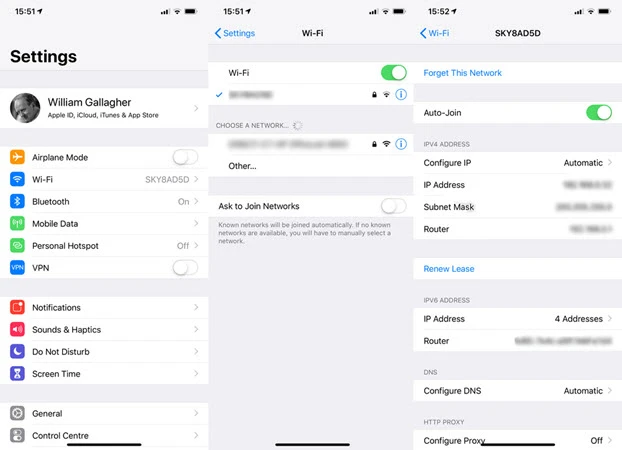
This basic fix shall be workable to troubleshoot the problem of iPad won't connect to WiFi. If not, you can move on and try other solutions.
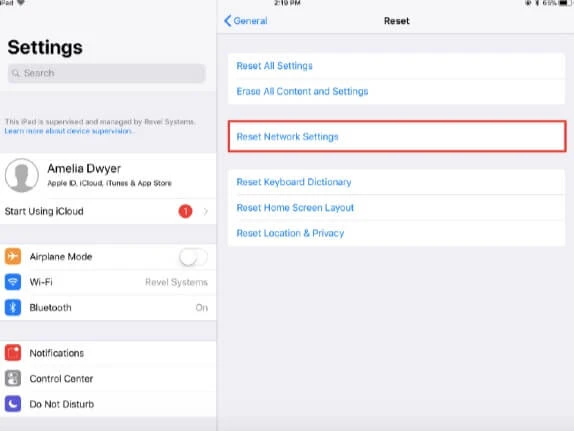
Another common troubleshooting method you can use when your iPad can't connect to WiFi is to reset network to default settings. This will only restore the network settings, other settings and data on iPad will not be affected.
Go to your iPad's Settings > General, then under the "Reset" section, click on the "Reset Network Settings" option. Enter your iPad passcode and confirm the action. If you frequently encounter other iPad issues, you can also choose to reset all settings on your device.
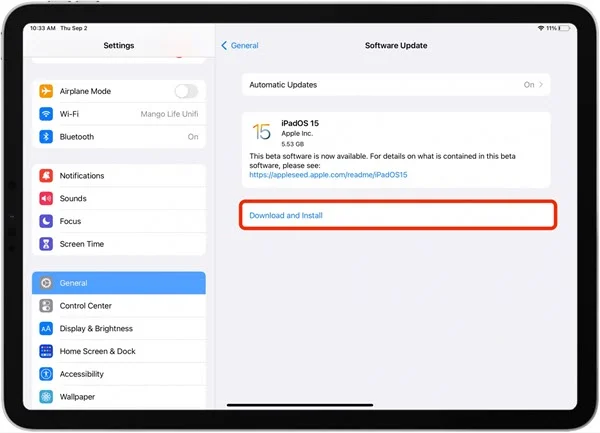
If your iPad is running an outdated version of iPadOS, the device may have problem to connect to your Wi-Fi network. In such case, you'd better update your iPad by navigating to Settings > General > Software Update.
Have the aforementioned solutions solved your iPad WiFi connection problem? If not, another solution is recommended to you: factory reset your iPad. This will refresh all the iPad settings, including WiFi connection.
Before resetting your iPad, keep in mind to perform a full backup of the important data on iPad since all of the data will be deleted after resetting the iPad. After after, follow these steps to erase your iPad and set it up as a new one:
When the iPad is set as a new one, follow the setup instruction to go back to the WiFi settings interface. Connect the iPad to the WiFi and check if it is working.
The last solution is to use a third-party tool like FoneGeek iOS System Recovery. It is a professional tool to repair all kinds of iOS issues like iPad not connecting to WiFi, iPhone touch screen not responding, iPhone stuck in black screen/white screen, etc.
Millions of users have downloaded and user our software and famous sites such as CNET, Software.Informer, Filehorse, GetDroidTips, Lera Blog, Webku have highly recommended our software.


Step 1. Launch FoneGeek iOS System Recovery on your computer and choose "Standard Mode", then connect your iPad using a USB cable.

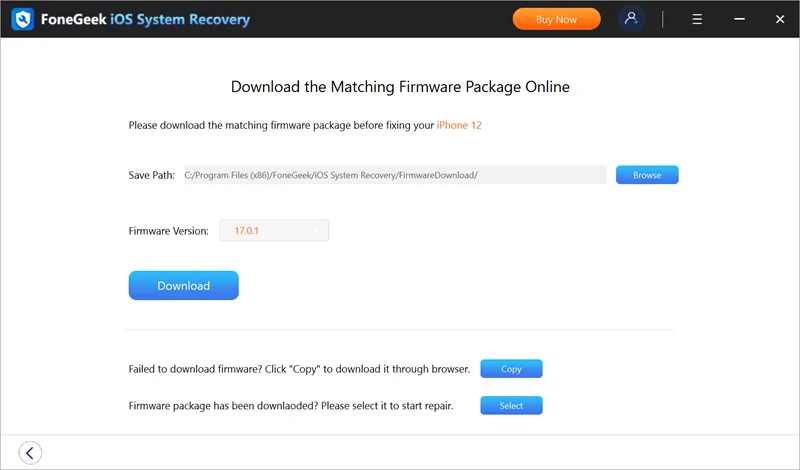
Step 2. When the program detects the iPad and displays the firmware versions, choose one that matches the device version and click on "Download".
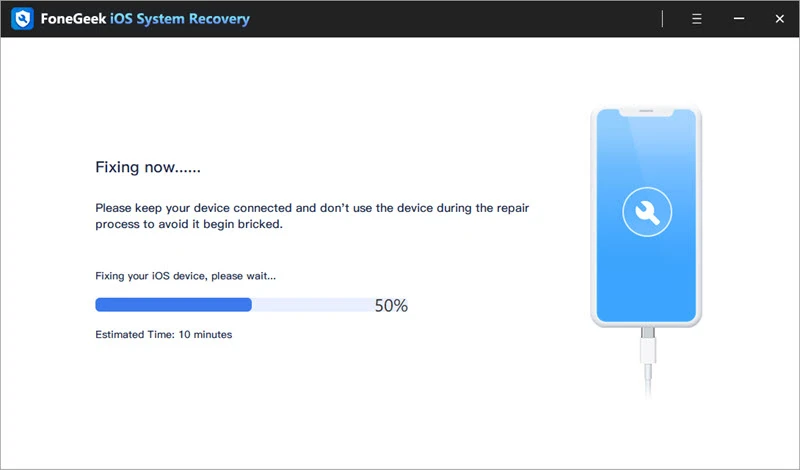
Step 3. Once the download is complete, click on "Fix Now" and the program will immediately start to repair the iPad. After that, this WiFi connection issue will get fixed.
If you have run into the problem of iPad won't connect to WiFi recently, then don't hesitate to try the 10 easy methods we show you above. Hope your iPad is connecting to Wi-Fi again. If not, your iPad may have a hardware issue. You'd better visit a local Apple Store to get your iPad repaired.
Fay J. Melton has explored the area of technology and software for more than 5 years and he is enthusiastic about helping users solve various technology issues.
Your email address will not be published. Required fields are marked *


Copyright © 2025 FoneGeek Software Co., Ltd. All Rights Reserved


 English