
 User Concern
“I was trying to update my iPhone 14 to latest iOS 17 version but the download and install option in 'software update' was greyed out. How can I fix this?”
Upgrading iPhone or iPad to the latest iOS 17 brings many newest features and security improvements. However, if your device doesn't meet the update requirements, the Download and Install button may be grayed out.
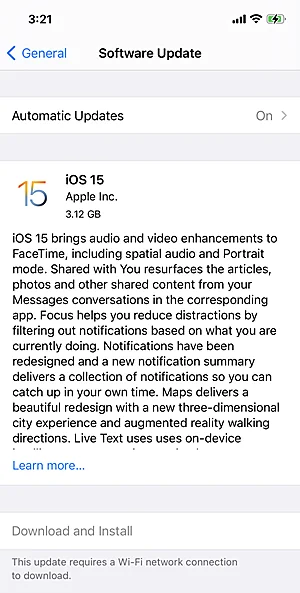
Don't worry. In this article, we will introduce some quick ways to fix the problem and proceed with your iOS 17 update. Keep reading.
Whenever a new iOS version is available, your iPhone or iPad will prompt you by displaying a red badge in Settings > General > Software Update.
If your device isn't charged or connnected to internet, you won't be given the option to click "Download and Install". In addition, this issue can be caused by insufficient iPhone storage or software gitches on the device.
How to troubleshoot and fix the greyed out Download and Install button on your iPhone? Here are some useful tips:
The Download and Install button may be grayed out if your iPhone is connected with cellular data or a poor WiFi. Thus, you'd better check your iPhone's internet connection and ensure the device is connected with a strong Wi-Fi network before upgrading to iOS 17. Here's what you need to do:
If your iPhone is on cellular data connection when updating to iOS 16, you should see a notification "This update requires a Wi-Fi network connection to download".
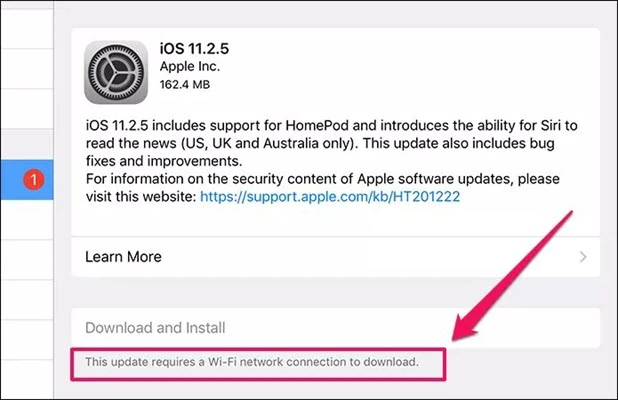
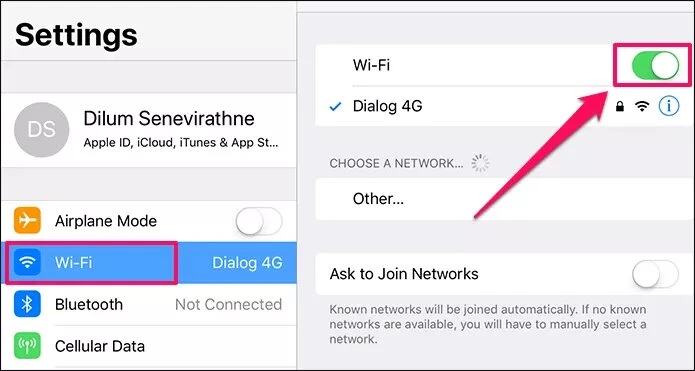
To switch to a Wi-Fi connection, just go to Settings > Wi-Fi and toggle the Wi-Fi on. Once you are connected to a stable Wi-Fi network, go to Software Update and now the Download and Install option should work as normal.
If you're connected to WiFi but the Download and Install button is still greyed out, poor Wi-Fi connectivity is to blame. You can open the Safari app and open some websites to test the internet. If the internet is not running properly, you can try to turn off WiFi and then turn it back on.
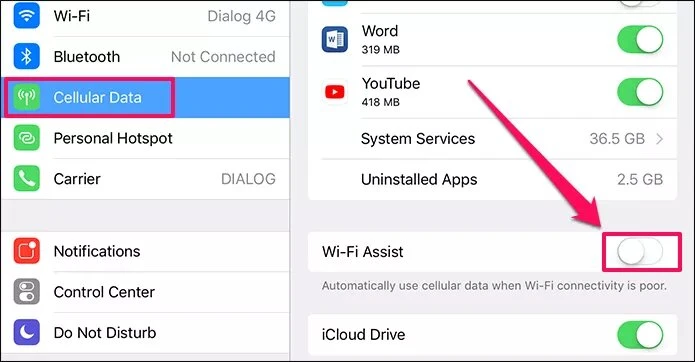
If Wi-Fi Assist is turned on, your iPhone will automatically switch to cellular data when the Wi-Fi network is poor. In this situation, you should go to Settings > Cellular Data > Wi-Fi Assist and turn it off.
Another workaround is to reset network settings when the Download and Install button is still greyed out. After that, all relevant network settings on your iPhone will be reset to factory defaults.
To do that, open the Settings app and head to "General". Then tap on "Reset > Reset Network Settings". Enter your device's passcode when prompted and confirm the action.

If there is still the problem of "Download and Install button grayed out" after resetting network settings, you can try to perform the iOS 16 update on a different iPhone to check if the issue occurs due to the network issue. If the Download and Install button doesn't gray out on that iPhone, there must be some issues with your current device.
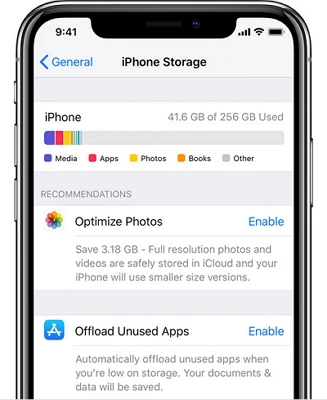
Large storage will be occupied to install a new iOS update. If there is not enough storage available on your iPhone, the Download and Install button may be grayed out during the iOS 17 update. So another constructive suggestion we offer to you is to check your iPhone storage space. Here're how to do that:
Go to Settings > General > iPhone Storage and you will see the remaining storage on the device. It is recommended to reserve at least 1GB before upgrading.
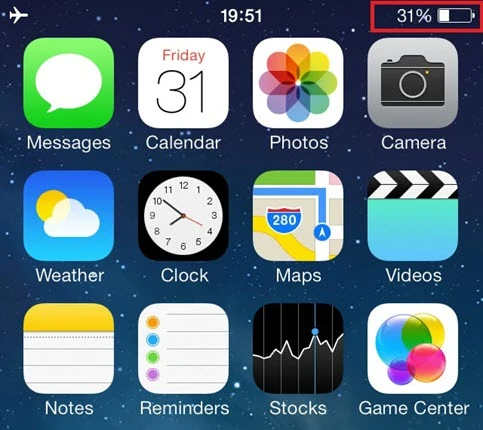
In general, when updating to the latest version of the iOS, the power is one of the key factors that cannot be ignored. If you do not follow the instructions, it may cause great potential damage to your iOS device.
The iPhone power is so important that Apple itself will not allow users to do the iOS 17 update when the device has less than 50% of battery charge remaining.
So before updating, make sure that the device has enough power, or it's better to plug the device directly into the power supply using original Apple lightning cable.
The steps described above show you basic tricks to get rid of the "Download and Install" button grayed out issue. Some users may still find this issue when they intend to install iOS 17. If so, use iTunes instead.
In some cases, iTunes is a great alternative to update iOS. For example, there is not enough storage space on the iPhone, there is no Wi-Fi around to do the iOS update, etc. Not much to say, let's show you how to use iTunes to download and install iOS 17 on your iPhone.
Preparation before iOS 17 update:
Download and Install iOS 17 with iTunes:
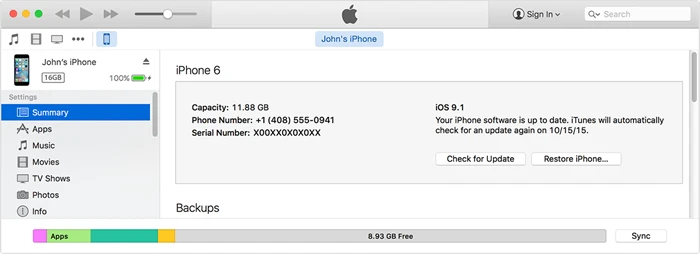
Now you shall know how to download and install iOS 17 with iTunes. But you may encounter different kinds of issues when using iTunes for the update. To avoid the problems, you can use FoneGeek iOS System Recovery to execute the whole update process without any interruption.
No data will get lost after the iOS 17 upgrade. Besides iOS update, it can also fix various iOS issues arise during or after the update. This program stands out in this industry for its perfect performance.
Step 1. Get this program downloaded to your computer, then install and launch it. From the main interface, select "Standard Mode" to proceed.

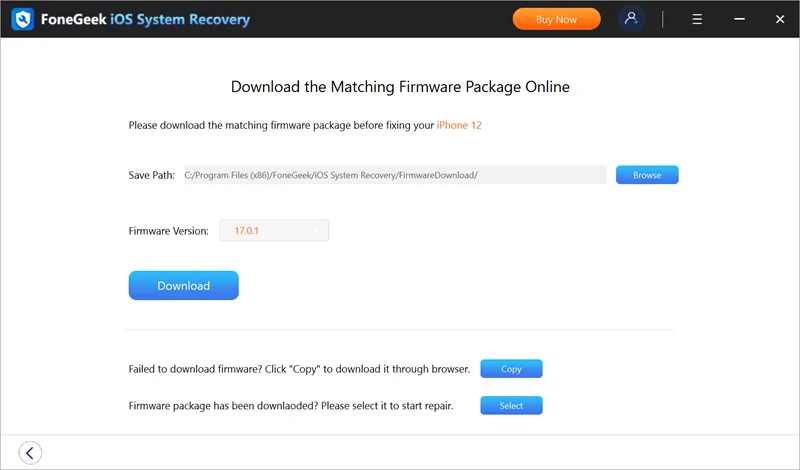
Step 2. Connect your iPhone to the computer using lightning cable and click on "Next". The latest firmware package will be listed for you to download.
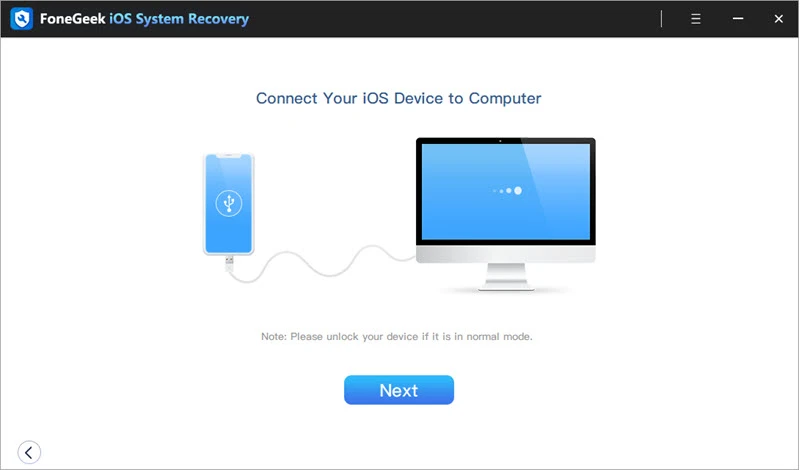
Step 3.Click on "Download" and follow the on-screen steps. When the whole process is finished, the iOS 17 firmware will be downloaded and installed on your iPhone.
Hope you have resolved the Download and Install button grayed out issue and have the newest iOS 16 installed on your iPhone. Before upgrading to iOS 17, it is recommend to back up your iPhone to avoid unexpected data loss.
Instead of using iTunes or iCloud, you can try another reliable tool developed by FoneGeek - Free iOS Backup & Restore. Using it, you can flexibly backup WhatsApp, contacts, photos, messages, etc. on your iPhone and selectively restore data without overwriting the existing files on the device.
Fay J. Melton has explored the area of technology and software for more than 5 years and he is enthusiastic about helping users solve various technology issues.
Your email address will not be published. Required fields are marked *

Copyright © 2025 FoneGeek Software Co., Ltd. All Rights Reserved