
 User Concern
“My iPhone 12 is running iOS 16. It asks for my passcode constantly (this has been happening for at least three weeks). It would be great if it would just unlock with Face ID, as it’s supposed to. Please help!”
iPhone arrives with multiple layers of security measurements that consist of the Passcode, Face ID, Touch ID, and much more. Although these features are very beneficial for your safety and privacy, they can also be annoying sometimes. Such as, if you leave the iPhone unused for a few hours, you may encounter “Your passcode is required to enable Face ID” issue when unlocking your iPhone.
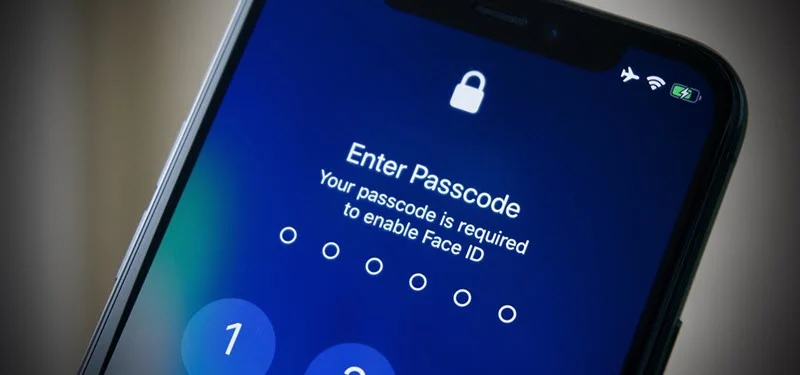
It's basically a security feature to prevent unauthorized access to your iPhone. If you want to know what you can do to fix this, keep reading the guide. Below, we will discuss why you are often asked to enter the passcode to enable Face ID and what you can do to fix it.
Many people prefer to use Face ID as it allows them to unlock the iPhone easily. However, sometimes you might be asked to enter the passcode for enabling Face ID. It mostly happens when the device cannot recognize you. It will also occur in some other situations, which we will discuss below:
Apart from these occasions, you will require the passcode to enable Face ID if you didn't use Face ID in the last four hours or the passcode in the previous six and half days.
As discussed above, you will require entering the passcode to enable Face ID in various situations. However, if you think you are encountering this excessively, try the below fixes;
If you enter the wrong passcode several times, you will be locked out and need to recover the password. There are several methods to reset your iPhone passcode. You can utilize the official process by Apple, which is a bit lengthy and time-consuming. However, if you are seeking an easy and quick solution, we will recommend the FoneGeek iPhone Passcode Unlocker.
FoneGeek iPhone Passcode Unlocker is a powerful tool that lets you solve various lock issues in your iPhone. You can employ it to remove the iCloud Lock, Face ID, Touch ID, and passcode easily. Some other features of the tool include:

Now let’s see how you can use FoneGeek iPhone Passcode Unlocker to unlock iPhone without passcode or Face ID:
Step 1: First, you need to download and install FoneGeek iPhone Passcode Unlocker on your Windows or Mac computer. Then launch the program.
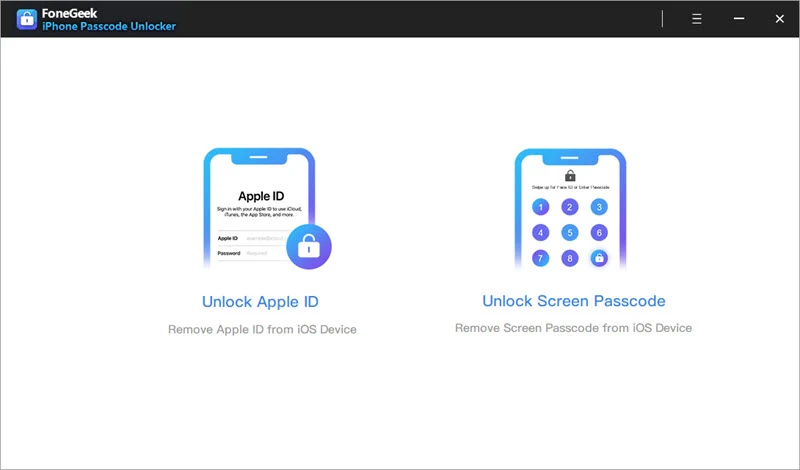
Step 2: Choose “Unlock Screen Passcode” on the app interface. Then, press “Next”. After that, connect the locked iPhone with the PC through a USB.
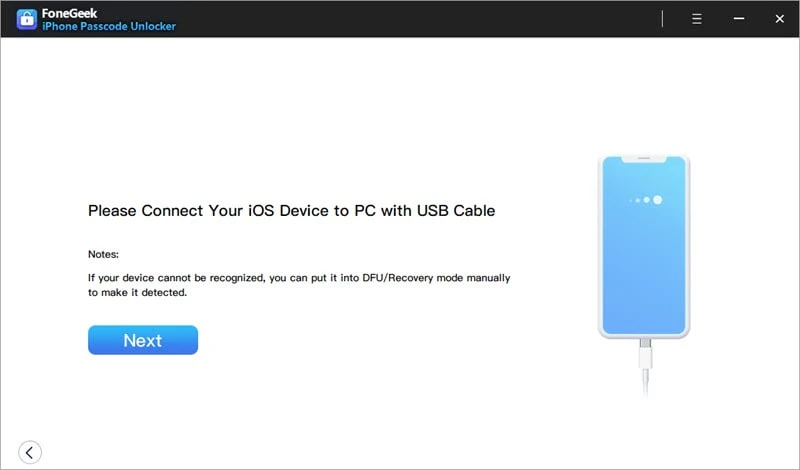
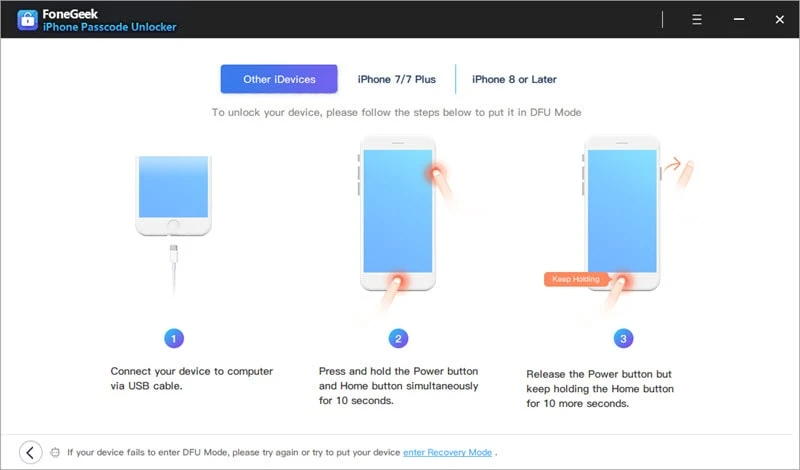
Step 3: Now, you will need to boot your iPhone to the DFU or recovery mode. Simply follow the guidance on the FoneGeek app interface to do this.
Step 4: After completing the above steps, you will see the iPhone model and available system versions. Select your preferred version and "Download" the firmware package.
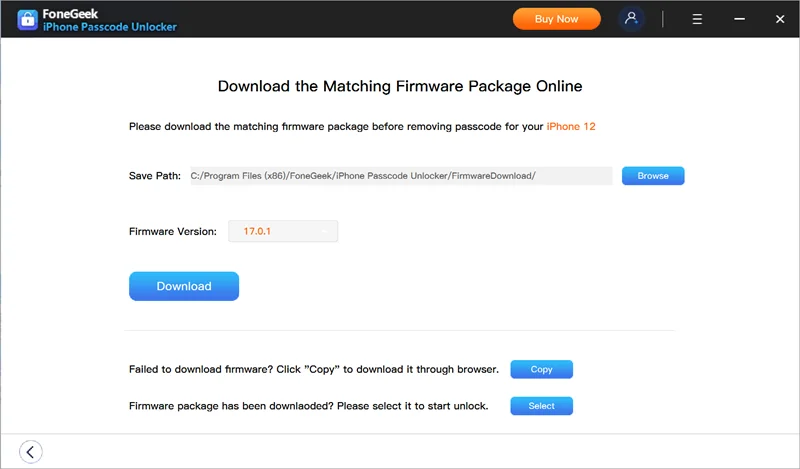
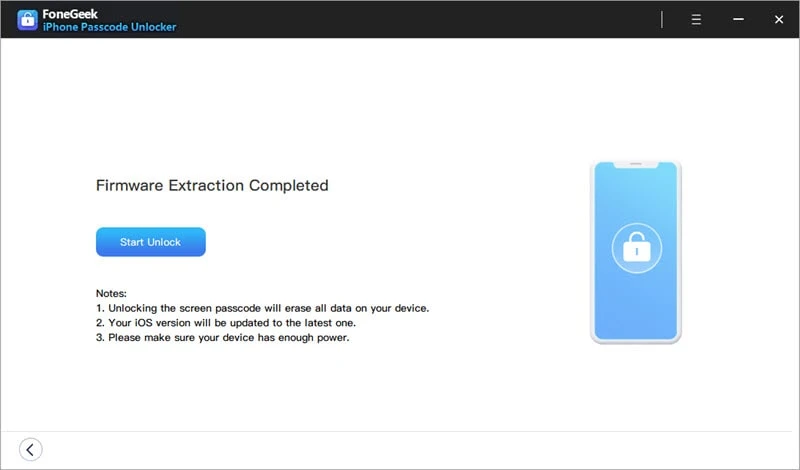
Step 5: After the download is complete, you need to press “Start Unlock” to remove the passcode. It will take a few minutes, and then you will be able to set a new passcode.
Face ID is a popular security feature of iPhone devices that consist of sensors and other components. While creating the Face ID, iPhone's TrueDepth camera accurately captures your face data through advanced technologies and saves it. It is matched with your real-time face every time you want to unlock the iPhone through Face ID.
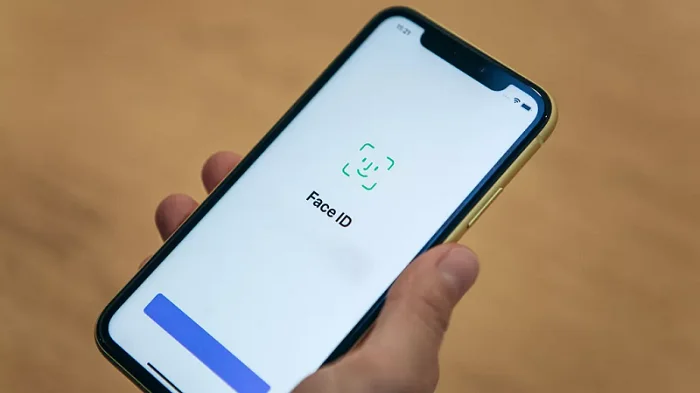
Here are some tips that might help Face ID to recognize you easily:
Face ID is by far the easiest way to unlock your iPhone. But it can be a hassle if you often need to enter a passcode because of "Your passcode is required to enable Face ID” error. We hope the above information will help you to solve this disturbing issue. And, if you forget the password and have a hard time unlocking the device, consider using FoneGeek iPhone Passcode Unlocker to remove the password easily.
Fay J. Melton has explored the area of technology and software for more than 5 years and he is enthusiastic about helping users solve various technology issues.
Your email address will not be published. Required fields are marked *

Copyright © 2025 FoneGeek Software Co., Ltd. All Rights Reserved